1. Launch Mail
The first step is to launch Mail, either from the dock, or through the Finder in your Applications folder. Once Mail is up and running you will be able to adjust some preferences such that all incomming spam is automatically filed in an appropriate place.
|
2. Create a Spam Mailbox
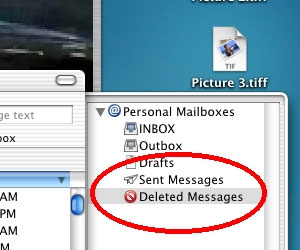
a. The next step is to create a place to store all incomming spam. The ideal place for this is under 'Deleted Messages', as such you must select your 'Deleted Messages' folder, so that Mail will know to where to create the new mailbox.
 |
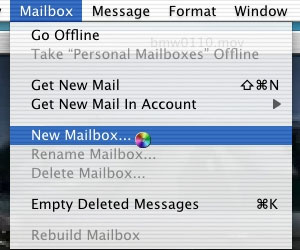
2. b. With 'Delete Messages' selected, click the 'Mailbox' menu at the top of your screen, and choose 'New Mailbox...' from the available options.
 |
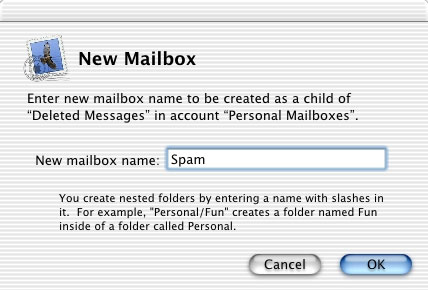
2. c. In the dialog that appears type the name for the folder you are creating, in this case 'Spam' seems most appropriate.
 |
3. Define a Spam Filter
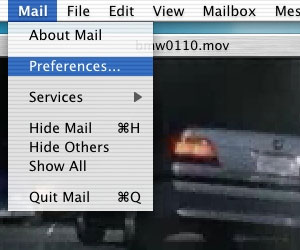
a. Now that you have a new mailbox specifically set aside to handle your spam, you must create a new 'Rule' to automatically direct any incomming spam to this folder. To do so choose the 'Mail' menu at the top-left of your screen, and select 'Preferences' from the list that drops-down.
 |
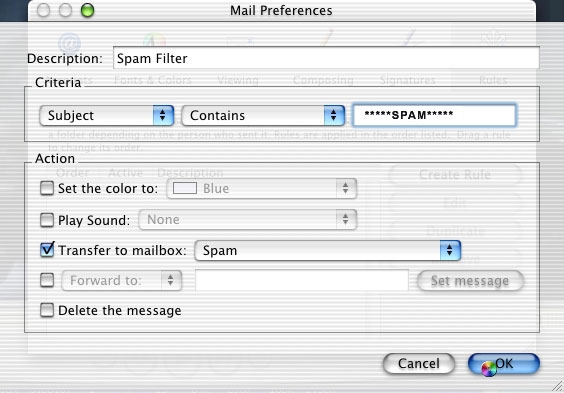
3. b. From the preferences dialog that opens, click Rules on the far right and select 'Create Rule' from the pane that appears.
 |
3. c. Once you click 'Create Rule', a sheet will drop-down that allows you to define the behaviour of your Spam Filter. Finally, enter the information exactly as you see it in the screenshot to the left; this will ensure that spam is appropriately filed.
 |